DTF transfers are changing how you approach custom apparel, offering vibrant color, a soft hand feel, and durable results that stand up to washing. From initial DTF printing to the final care, this guide covers the full DTF transfer steps and tips for reliable work. A successful project relies on precise heat press settings for DTF and careful prep, ensuring a flawless transfer on cotton, blends, and even some synthetics. You’ll learn how to apply DTF transfers efficiently, with practical steps, alignment tricks, and troubleshooting. Whether you’re new to DTF printing or upgrading a small shop, mastering these techniques offers DTF printing tips that support faster production, reduced waste, and consistently vibrant results.
Direct-to-film transfers, also known as film-based transfers, rely on a printable adhesive layer that carries vibrant designs onto fabrics. This print-on-film method, sometimes described as adhesive-backed decoration, mirrors many benefits of the popular technique while fitting into streamlined production workflows. Its compatibility with a broad range of textiles and the ability to reproduce subtle gradients makes it a versatile choice for apparel and accessories. As you progress, you’ll encounter practical considerations such as material prep, alignment accuracy, heat-press timing, and post-press care that reinforce consistent results.
Understanding DTF Transfers: What They Are and Why They Matter
DTF transfers, or Direct-to-Film transfers, redefine how you print full-color designs on apparel by using a transfer film and adhesive that delivers vibrant color, soft hand feel, and durable adhesion. This makes DTF printing a versatile option for cotton, blends, and even some synthetics, helping you achieve studio-quality results with a forgiving workflow. In practice, mastering DTF printing tips and stepwise application helps hobbyists and shops alike level up their projects while reducing waste and misfires.
Unlike traditional vinyl or screen printing, DTF transfer steps often involve careful prep, accurate heat press settings for DTF, and precise alignment. By following recommended DTF transfer steps and the right heat press settings for DTF, you can reproduce consistent color and edge detail across multiple garments, whether you’re producing small runs or one-offs.
Setting Up Your Workspace: Tools, Materials, and Safety for DTF Printing Success
To build a pro-grade DTF workflow, assemble quality tools: a reliable heat press, DTF film sheets, adhesive powder, a teflon sheet, lint roller, and a flat pressing surface. A clean, organized workspace supports consistency and helps you apply DTF transfers with fewer misprints. Emphasize DTF printing tips like maintaining clean films, calibrating temperatures, and keeping a small stock of tested materials to reduce surprises.
Plan your layout and alignment before heating. Use registration aids if producing multiples, and ensure your pre-press step removes moisture from fabrics. Understanding how to apply DTF transfers efficiently comes down to consistency: check edges, confirm orientation, and stick to the standard DTF transfer steps for each batch.
Fabric Preparation and Selection for Maximum DTF Adhesion
Fabric choice drives adhesion and finish. DTF transfers stick well to natural fibers and many blends, but pre-washing and drying fabrics removes sizing and reduces shrinkage that can misalign prints later. Recognize how different fabrics respond to heat and pressure, and tailor the pigment distribution and edge crispness with informed DTF printing tips.
Once your fabric is ready, align the transfer on a clean surface and use a light tack to hold it while verifying placement. Pre-press to remove moisture and set a flat plane, then apply the transfer with attention to thickness and weave. This is where understanding DTF transfer steps and how to apply DTF transfers helps ensure reliable adhesion across a range of fabrics.
Step-by-Step: How to Apply DTF transfers Like a Pro
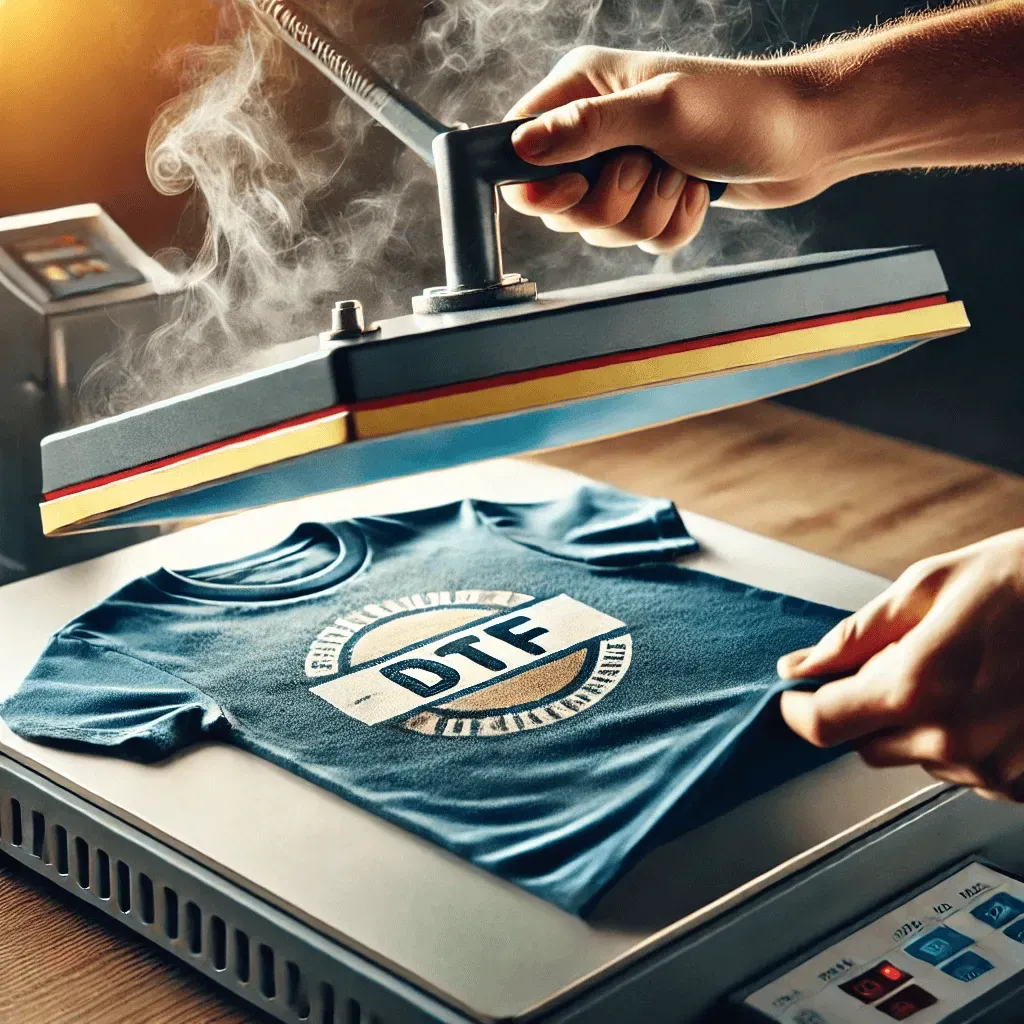
Step-by-step guidance for applying DTF transfers like a pro starts with a precise pre-press, setting the garment flat and removing moisture. Place the transfer print-side down and align carefully, then prepare to press with the appropriate temperature and time. In this phase you’ll implement the DTF transfer steps and follow manufacturer recommendations for your film and adhesive materials.
Then move to the heat press phase: close with even pressure, maintain the target 305–320°F (150–160°C), and press for 10–20 seconds depending on fabric. Follow with a hot peel unless your supplier requires a cold peel, reseal if needed, and do a post-press finishing step to seal the edges. These heat press settings for DTF and techniques for how to apply DTF transfers together deliver durable, high-quality results.
Post-Press Care, Troubleshooting, and Longevity for Pro-Level DTF Printing
Aftercare is essential for longevity. Turn garments inside out, wash in cold or warm water, and avoid high heat in the dryer to preserve color and adhesion. Following DTF printing tips about wash temp and handling helps your designs survive repeated laundering while maintaining a soft hand feel.
When issues occur, refer to common troubleshooting steps aligned with DTF transfer steps: check alignment, ensure proper heat, and inspect the transfer film quality. Regular maintenance—calibrating your press, storing materials properly, and testing on scraps—lets you sustain pro-level results and keeps your DTF prints looking sharp batch after batch.
Frequently Asked Questions
What are DTF transfers and why are they valuable in DTF printing?
DTF transfers, or Direct-to-Film transfers, involve printing a design onto a special film with color inks and using an adhesive to bond it to fabric. In DTF printing you get vibrant, full-color images with smooth gradients and a durable hand feel that stands up to washing. They work on a wide range of fabrics and are forgiving of variations in texture and weave.
What are the essential DTF transfer steps to apply a design successfully?
Key DTF transfer steps include prepping the garment, aligning the transfer print-side down, pressing at the recommended temperature and time with even pressure, peeling according to hot- or cold-peel guidance, and finishing with a brief post-press and proper cooling. For multi-copy runs, using a registration jig helps maintain consistent placement across pieces. Always verify orientation and test on scrap before production.
What heat press settings for DTF should I use for different fabrics?
A general starting point is 305–320°F (150–160°C) for 10–20 seconds with medium to heavy pressure. Heavier fabrics may need longer dwell times or higher pressure, while delicate synthetics benefit from lower temperatures and shorter times. Pre-press the garment for 3–5 seconds to remove moisture, then press the transfer with a flat, even surface, and follow your transfer or adhesive manufacturer’s guidelines.
How to apply DTF transfers step-by-step to ensure proper alignment and adhesion?
Pre-press the garment 3–5 seconds to flatten wrinkles and remove moisture. Align the transfer print-side down using guides or a jig for repeat runs, then close the heat press with even pressure for 10–20 seconds at 305–320°F. Peel the carrier while warm (hot-peel) unless your supplier specifies a cold-peel, then apply a short post-press and allow the fabric to cool before handling.
What are some practical DTF printing tips to improve color and durability?
DTF printing tips include testing on fabric scraps before a batch, maintaining a clean, lint-free workspace, using a quality teflon sheet, starting with cotton or cotton blends, and keeping a log of successful settings for each fabric. Ensure fresh ink/adhesive and store consumables properly to avoid dull finishes or adhesion issues, and follow aftercare guidelines to maximize longevity.
| Topic | Key Points |
|---|---|
| What are DTF transfers and why they matter |
|
| Materials, equipment, workspace you will need |
|
| Understanding fabric compatibility and preparation |
|
| Step-by-step guide: applying DTF transfers like a pro |
|
| Troubleshooting common issues and how to prevent them |
|
| Materials and equipment maintenance tips |
|
| Pro tips for better DTF transfer results |
|
| DTF transfers vs other transfer methods: a quick comparison |
|
Summary
DTF transfers are a versatile and reliable method for decorating garments, and this guide summarizes the essential steps from setup to care. By choosing quality materials, preparing fabrics properly, achieving precise alignment, and using appropriate heat-press settings, you can produce durable, vibrant designs that withstand repeated washing. Practice with scraps, log successful settings by fabric type, and gradually expand to more complex multi-color designs to elevate your DTF transfer workflow and outcomes.