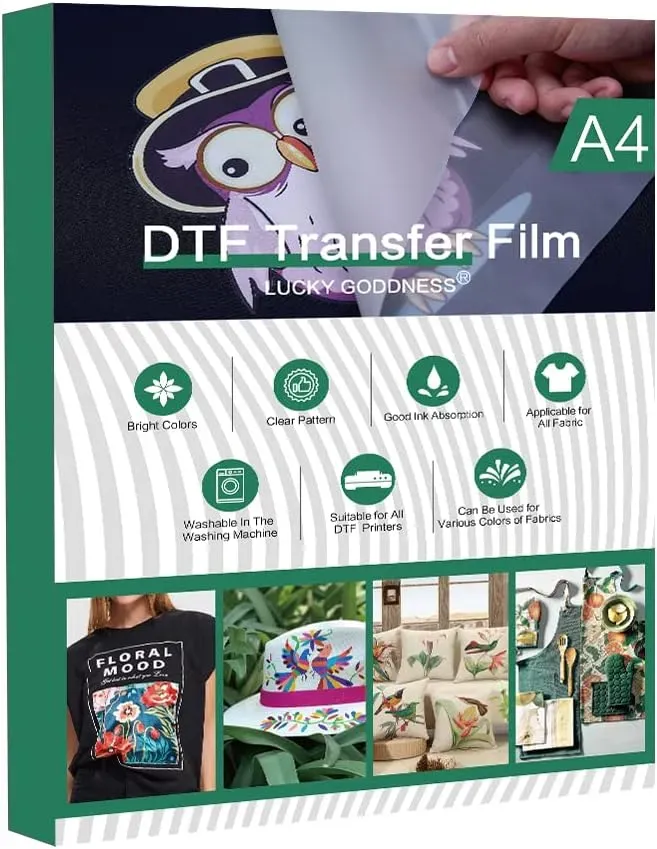
When thinking about optimizing dtf transfers for light and dark fabrics, you quickly realize how substrate color, fabric weight, and fiber composition influence the final look and durability. This SEO-friendly guide outlines practical, field-tested steps to maximize color accuracy, adhesion, and wash durability for DTF transfers across different garment types. By aligning workflows for DTF printing on light fabrics and DTF transfers dark fabrics, you can achieve consistent results while protecting your brand’s reputation. Key considerations include selecting the right DTF heat press settings and ensuring DTF curing and finishing steps are correctly timed to preserve edge definition. Documenting tested parameters and fabric swatches helps you scale from small runs to larger orders with confidence.
From an alternative perspective, this discussion resembles direct-to-film printing processes, where designs ride on a carrier film before transfer to textiles. LSI-friendly terms include film-based transfers, substrate color management, opacity control, and color fidelity across light and dark garments. Thinking in terms of print quality, adhesion behavior, and DTF curing and finishing as a system creates a holistic view of how to optimize outcomes. Using this semantic approach helps content align with how designers search for film transfers, underbase strategies, and press settings while keeping the focus on durable, vibrant results.
Frequently Asked Questions
How can I optimize dtf transfers for light fabrics to maximize brightness and wash durability?
For light fabrics, focus on preserving brightness while ensuring wash durability. Start with a brief pre-press (5–8 seconds) to remove moisture, minimize white underbase to avoid dullness, and calibrate color profiles to maintain vivid colors. Ensure adhesive powder is evenly distributed and follow film/ink manufacturer guidelines for curing; a typical starting heat press is about 315°F (157°C) for 12–14 seconds with medium pressure, followed by a brief cool-down before handling. Always validate with test swatches and wash tests to confirm durability.
What are the best practices for optimizing DTF transfers on dark fabrics to achieve opaque, vibrant images?
On dark fabrics, prioritize opacity and color pop by using a robust white underbase and achieving consistent transfer thickness. Choose a film/ink setup that provides strong opacity, ensure even adhesive powder distribution, and calibrate color profiles for faithful reproduction. Start with 320–330°F (160–165°C) for 14–18 seconds with firmer pressure; if needed, extend dwell slightly to ensure full fusion of the underbase. After pressing, a brief post-press hold and a careful warm/short peel can reduce halos and cracking.
How do I adjust DTF heat press settings for light fabrics vs dark fabrics as part of optimizing dtf transfers for light and dark fabrics?
Treat heat press settings as the primary driver of optimization. For light fabrics, start around 315°F (157°C) for 12–14 seconds with medium pressure to protect delicate materials, then adjust based on fabric weight. For dark fabrics, use 320–330°F (160–165°C) for 14–18 seconds with firmer pressure to improve adhesion of the white underbase and color vibrancy. Always test with swatches, follow film guidelines for dwell and peel method, and document the parameters to build reliable, repeatable results.
What role do DTF curing and finishing play in optimizing dtf transfers for light and dark fabrics, and what steps are critical?
DTF curing and finishing solidify adhesion and color stability across both light and dark fabrics. After transfer and peeling, allow the garment to rest and cool; perform any manufacturer-recommended second cure if required, to prevent cracking and color transfer. Finishing steps—such as a brief post-press hold for edge bonding and ensuring proper ink curing—help reduce white halos on dark fabrics and avoid texture or scorching on light fabrics. Always align curing/finishing with the specific film and ink guidelines.
How can I troubleshoot common issues when optimizing dtf transfers for light and dark fabrics, such as edge lifting or show-through?
Use a structured approach to troubleshooting: ensure even adhesive powder distribution and complete pre-press drying to prevent edge lifting on light fabrics; verify the white underbase thickness and curing to prevent show-through on dark fabrics; check platen pressure uniformity to stop curling; adjust dwell time and underbase density to reduce cracking in solid areas; confirm peel temperature and timing align with the film’s guidelines. Keep fabric types grouped in batches for consistent platen temps and document successful parameters for future runs.
| Topic | Light Fabric Key Points | Dark Fabric Key Points |
|---|---|---|
| Purpose and Focus | – Aim for vivid color, strong adhesion, and wash durability; manage white/underbase to preserve brightness. – Balance color fidelity with fabric feel and comfort. |
– Ensure opacity and color pop with a robust white underbase. – Avoid oversaturation that can make transfers stiff; maintain good adhesion and flexibility. |
| Pre-Press & Fabric Preparation | – Light fabrics: brief 5–8s pre-press to remove moisture; smooth, dry surface; medium pressure; avoid scorching. – Dark fabrics: longer 8–12s pre-press to flatten fibers; steady pressure; may require slightly longer for blends. |
– Dark fabrics often retain more moisture; longer, controlled pre-press helps uniform texture and adhesion. – For some blends, extended pre-press may be needed to reduce grainy adhesion. |
| Film, Ink & Underbase | – Use film with strong white underbase formulation; calibrate color profiles; higher color density can boost brightness on light fabrics. – Ensure adhesive powder is evenly distributed. |
– Choose films with robust white underbase for opacity on dark fabrics; ensure even underbase application to prevent show-through. – Maintain accurate color calibration and even adhesive distribution. |
| Heat Press Settings | – Light fabrics: ~315°F (157°C), 12–14s, medium pressure; cool briefly before handling. – Tailor dwell and pressure to prevent texture on delicate textiles. |
– Dark fabrics: ~320–330°F (160–165°C), 14–18s, firmer pressure; may extend dwell by a second or two for better underbase fusion. – Higher heat/pressure improves color pop and adhesion but risks stiffness if overdone. |
| Peel Method & Post-Press | – Light fabrics: warm or room-temperature peel after surface is safe; wait if tacky to prevent edge lifting. – Avoid rushing; slight delay can improve edge bonding. |
– Dark fabrics: brief post-press warm hold (2–3s) then peel with light tension; helps edges and reduces white halos. – Consistency in peel method supports uniform results. |
| Curing & Finishing | – Allow rest and cool after peeling; follow any second cure or finish steps per manufacturer to avoid scorching. – Timing should be aligned with film/ink specs. |
– Ensure full fusion of underbase and printed layer; monitor elongation and avoid cracking by proper curing. |
| Troubleshooting | – Color mismatch on light fabrics: recalibrate color profiles; test swatches; ensure pre-press is fully dry. – Underbase brightness issues: verify underbase thickness and curing. – Edges curling/lifting: check platen pressure and even adhesive distribution. – Cracking or peeling: adjust dwell time; verify fabric weave vs. stretch. |
– White halos, show-through, or edge defects: ensure underbase consistency and proper adhesion; refine peel and cure steps as needed. |
| Quality Control & Consistency | – Create standard test swatches for each fabric type; calibrate color profiles using targets. – Log settings (temp, time, pressure, peel method) for reproducibility. – Inspect adhesion, edge definition, and color fidelity after each run; adjust one variable at a time. |
– Maintain records and perform routine checks to ensure underbase durability and color accuracy across lots. |
| Practical Workflow Tips | – Group by fabric type to minimize platen fluctuations; use quick-reference parameter sheets. – Run test swatches before large orders; monitor environmental factors and equipment cleanliness. |
– Establish a reliable set of light/dark parameters; keep equipment clean and maintain consistent pressure. |
| Balanced Approach | – Optimization is a balanced mix of pre-press, film/ink compatibility, heat-press precision, and QC discipline. – Over time, practices become second nature leading to fewer reprints and happier customers. |
– Emphasizes adaptability across fabric blends for consistent outcomes. |
| Conclusion (Key Takeaways) | – A comprehensive approach to optimizing dtf transfers for light and dark fabrics yields vibrant designs with durable adhesion across fabric types. – Maintain consistent pre-press, film/ink choices, heat-press parameters, and QC to meet customer expectations. |
– Documented methods and routine testing help sustain quality and brand reputation across runs. |